|
Launch Pad Construction -
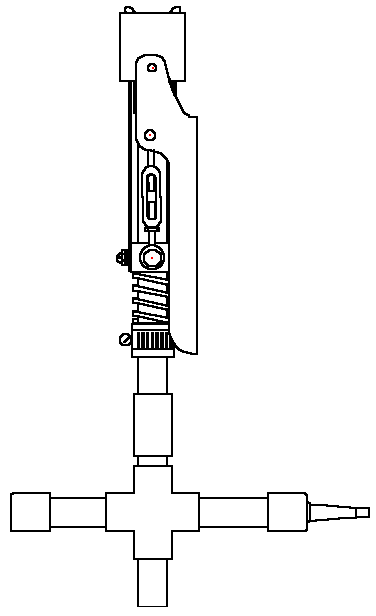
Final Assembly
The turnbuckles must be adjusted before going further. Put the rubber
hose washer onto the launch tube and insert the launch tube into the
top. Put a bottle on and clamp it down. There will not be much
resistance (if any) when locking down. Now raise the handle about 20
degrees. Lengthen the turnbuckles until the catches start pulling
down the bottle against the gasket. Try compressing the handle all
the way down. The gasket is being compressed if it is somewhat stiff.
If it is too stiff you can damage the gasket or the bolts so be
careful on this adjustment. Not enough gasket compression is better
than too much compression. Watch that the turnbuckle lengths are
adjusted evenly. When you have a well adjusted system, tighten the
#10 nut against the turnbuckle to prevent them from loosening. Do
this adjustment without the spring so you can tell when the gasket is
being compressed. That feel will be masked by the spring compression.
Measure the distance that is the difference between an uncompressed
spring and a compressed spring. Call that distance the spring travel.
Slide the spring onto the sprinkler riser up to the sliding collar.
Slide the rubber hose section up to the spring. Raise the handle so
that the the collar moves up the distance of the spring travel. Slide
the rubber hose section and spring up to touching the sliding collar.
Clamp the rubber hose section in place with the 1" hose clamp.

When the handle is locked down the spring will be compressed and when
the handle is pulled out slightly, the handle will pop up by the spring.

Put teflon pipe thread seal on the bottom of the sprinkler riser.
Screw the sprinkler riser into the cross assembly. Congratulations,
you now have a rocket launch pad.

To opperate:
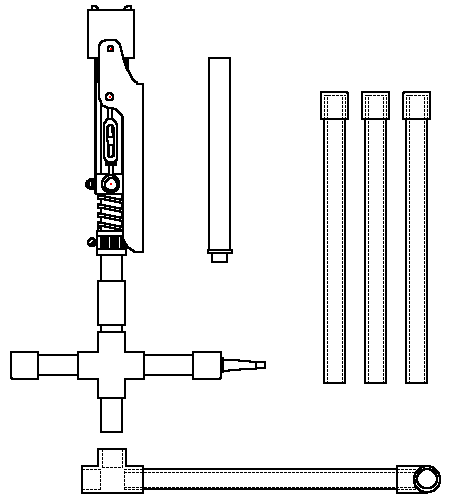
Place the bottom cross assembly pipe into the 'T'. Put the three legs
into the "T" ports making a 3 legged base. Put the garden
hose washer onto the launch tube. Insert the launch tube into the top
of the head. Slide a rocket on and clamp it down. Don't you just love
the way it is a single motion to lock it down. Don't you just love
the way you release the rocket with a slight tug on a string attached
to the handle. Setup is so easy and opperation is so easy. Remember
to be safe when operating rockets!

PREV<< Parts Assembly 2 NEXT>> Reference
Table of Contents
|


